Creating a mood board for building a house in beautiful Bowen is an excellent way to visualise your design preferences and make informed decisions about your home’s style before it is built! Here’s a step-by-step guide to help you create your own mood board:
1. Define Your Style and Vision
- Gather Inspiration: Drive around our beautiful town and look at different houses, collect images from magazines, websites, Pinterest, and social media that reflect your desired aesthetic. Look for interior and exterior design, colours, materials, furniture, and decor ideas. Start following your builder’s preferred partners on socials for great ideas – some of our partners are Beaumont Tiles (bathrooms, kitchen splashbacks, laundry splashbacks), Reece Plumbing (tapware, sinks, toilets, bath tubs, shower accessories etc) Colourbond (roof), Taubman’s and Dulux (paint) and Beacon Lighting (lighting).
- Identify Themes: Note recurring themes or elements in your inspiration images. This could be specific styles like modern, rustic, colonial, Hamptons or a mix.
2. Choose a Format
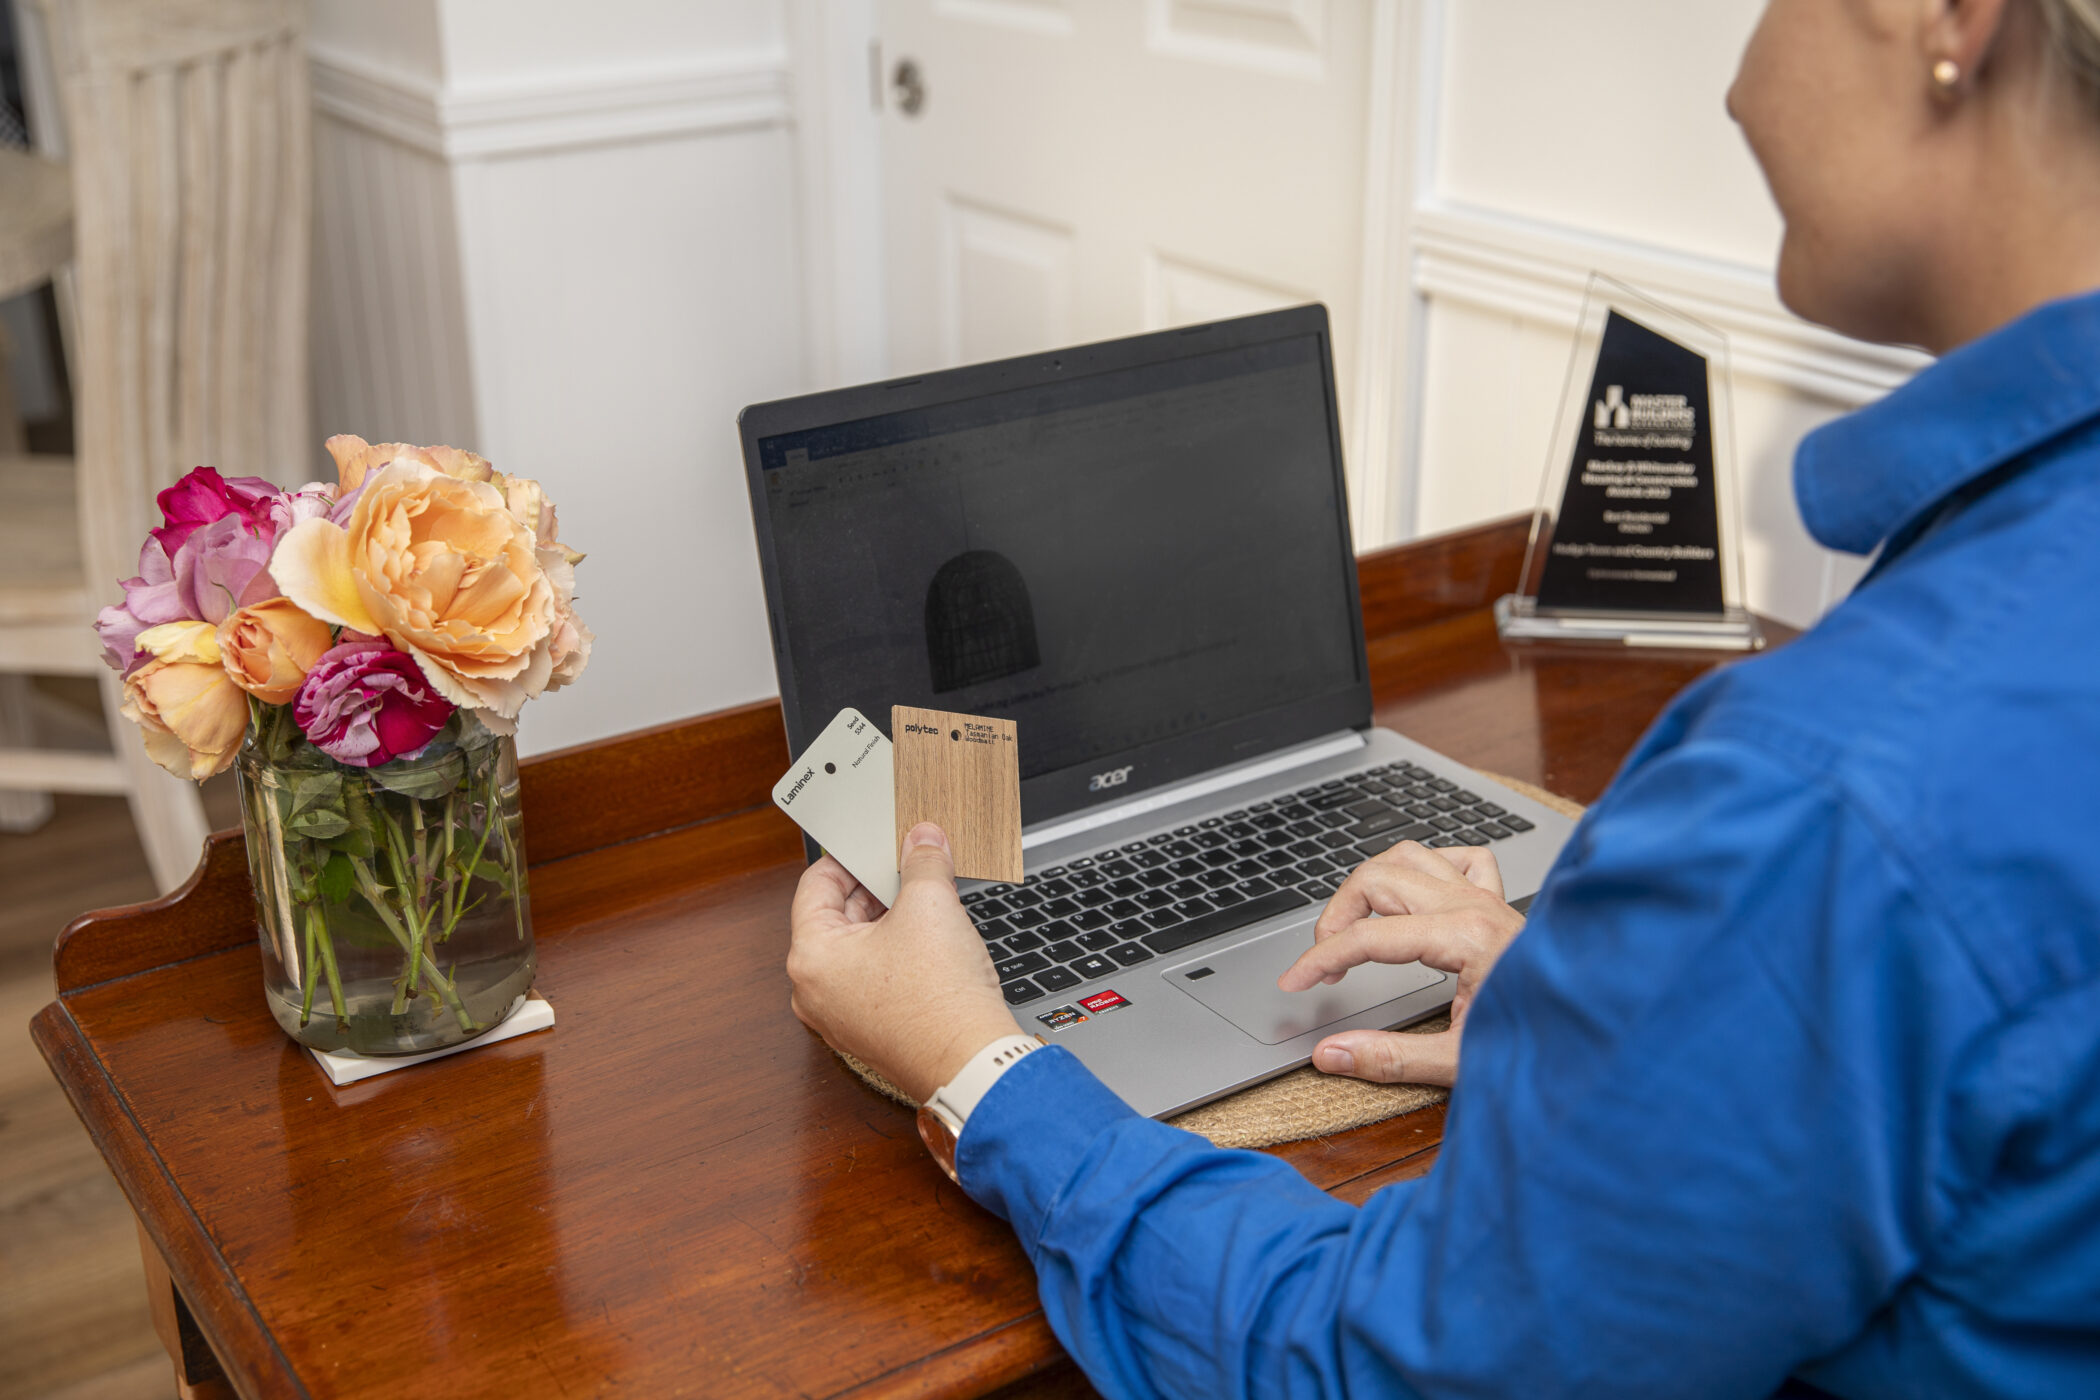
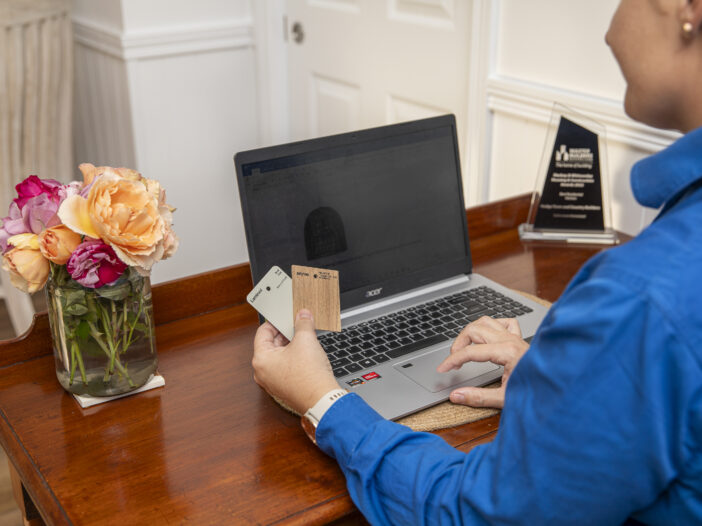
- Physical Mood Board: Use a large corkboard or poster board. Print your images and gather fabric and paint swatches, and other tactile materials.
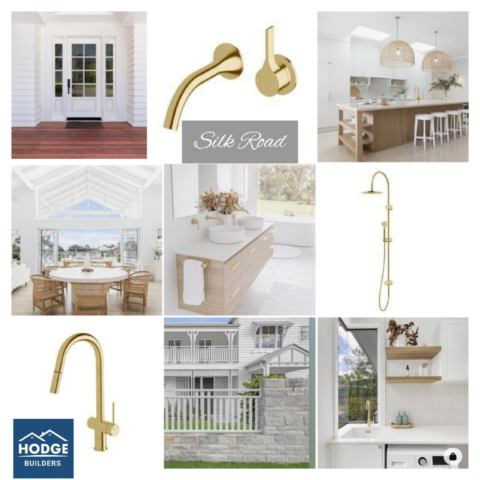
- Digital Mood Board: Use design software like Canva, Adobe Spark, or online platforms like Pinterest or Milanote (we are loving Canva at the moment!).
3. Collect Materials
- Images: Include photos of rooms, furniture, textures, lighting, and landscaping that you love.
- Colour Swatches: Pick paint swatches or digital colour palettes to represent your preferred colour scheme.
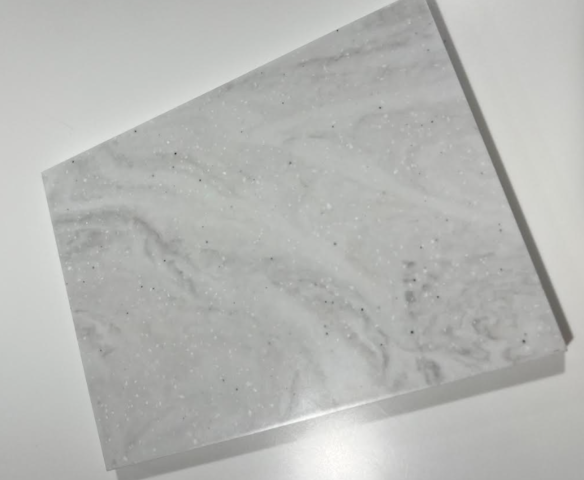
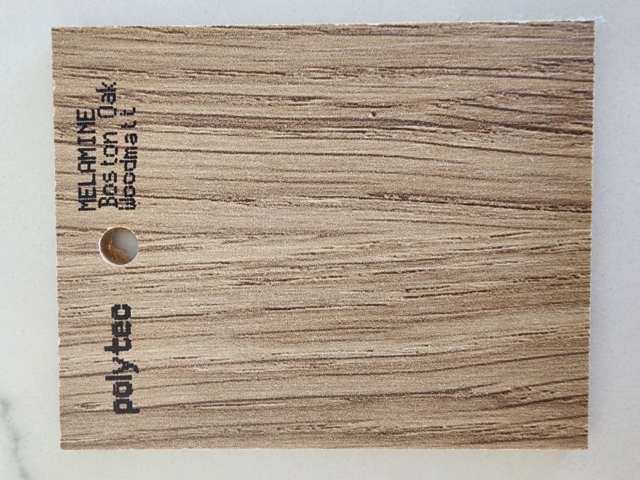
- Textures and Materials: Gather samples or images of flooring, countertops, fabrics, and wall finishes.
4. Organise Your Board
- Layout: Arrange your images and materials in a cohesive manner. Group similar items together to see how they interact. You might like to have separate boards for each room or prefer to approach the house design as a whole with all your inspo on one board.
- Balance: Ensure there’s a good mix of colours, textures, and styles. Avoid overcrowding your board; it should be clear and easy to interpret.
5. Add Details
- Notes: Write down key ideas or notes about each item. This can include why you like it, where it might be used, and any specific details to remember (for example sometimes you might look back at an image and think to yourself ‘Hmmm what exactly did I like in this picture, was it the lights or the flooring?’, so notes are so helpful!
- Labels: Label different sections or elements to keep things organised.
6. Refine and Finalise
- Edit: Remove anything that doesn’t fit your overall vision or feels redundant – you might have changed your mind about certain elements after seeing them together with all your other selections.
- Feedback: Share your mood board with others (family, friends, or a designer) for feedback and suggestions.
- Finalise: Once you’re happy with the board, use it as a reference throughout the design and building process.
7. Use Your Mood Board
- Decision-Making: Refer to your mood board when making decisions about materials, colours, and furnishings to ensure consistency with your vision.
- Communication: Use your mood board to communicate your ideas clearly to architects, designers, and contractors. It can also help to take your mood board along when making selections in store eg for tiles and tapware.
Tools and Resources
- Pinterest: Great for gathering and organising digital inspiration.
- Canva: User-friendly design tool for creating digital mood boards (our pick!).
- Adobe Spark: Another excellent tool for digital mood boards.
- Physical Samples: Visit home stores to collect paint swatches, fabric swatches, and material samples.
Creating a mood board is a fun and creative process that helps ensure your new home reflects your personal style and is cohesive. Enjoy the journey!
